Instructions for Regular Workflow Use:
- Download the attached .ZIP file below to your computer. *Remember the location of the saved file on your computer.
- Unzip the file on your computer. Should end up with a .WFD file.
- Log in to UCS Director as a user that has "system-admin" privileges.
- Navigate to "Policies-->Orchestration" and click on "Import".
- Click "Browse" and navigate to the location on your computer where the .WFD file resides. Choose the .WFD file and click "Open".
- Click "Upload" and then "OK" once the file upload is completed. Then click "Next".
- Click the "Select" button next to "Import Workflows". Click the "Check All" button to check all checkboxes and then the "Select" button.
- Click "Submit".
- A new folder should appear in "Policies-->Orchestration" that contains the imported workflow. You will now need to update the included tasks with information about the specific environment.
Attached are three workflows. One can be used to Set a Blade Server Name and/or User Label and the other two are can be used to Delete/Clear the Name and/or the User Label.
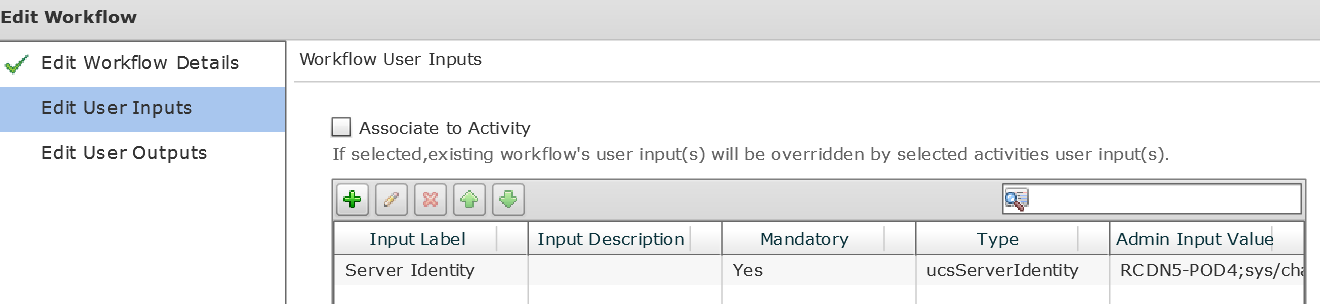
User inputs expected for the 'Set Server Name and-or User Label' workflow.

User Input Mappings for the 'Set Server Name and-or User Label' workflow.

User inputs expected for both the Delete Server Name and User Label workflows.
User Input Mappings for both the Delete Server Name and User Label workflows.

-
