- Cisco Community
- Technology and Support
- Security
- Security Knowledge Base
- ISE Sponsor Portal Create Known Accounts Page Customization
- Subscribe to RSS Feed
- Mark as New
- Mark as Read
- Bookmark
- Subscribe
- Printer Friendly Page
- Report Inappropriate Content
")
")
- Subscribe to RSS Feed
- Mark as New
- Mark as Read
- Bookmark
- Subscribe
- Printer Friendly Page
- Report Inappropriate Content
on
04-26-2018
11:29 AM
- edited on
12-19-2021
11:46 PM
by
hslai
![]()
The following information is used to provide basic examples of customizing the ISE Sponsor Portal Create Known Accounts page.
For basic information on customization, getting started, please reference the ISE Web Portal Customization Guide
Note these examples will not work with the ISE Portal Builder
- How can i find out the element values?
- Hide the Create Known Accounts
- Reorder the first and last names
- Create known account print only option (automatically)
- Change the ending time, color and date format
- Hiding the Copy Me function and the password after the user is created
- Hiding notify and resend from create known accounts
- Restrict the email address entered when creating a known account
How can i find out the element values?
You can see the fields under the portal language files (export them at the top right of the page). Or if you use chrome developer tools to decode the elements.
Hide the Create Known Accounts
A customer only uses random account and wants to hide this function from their sponsors.
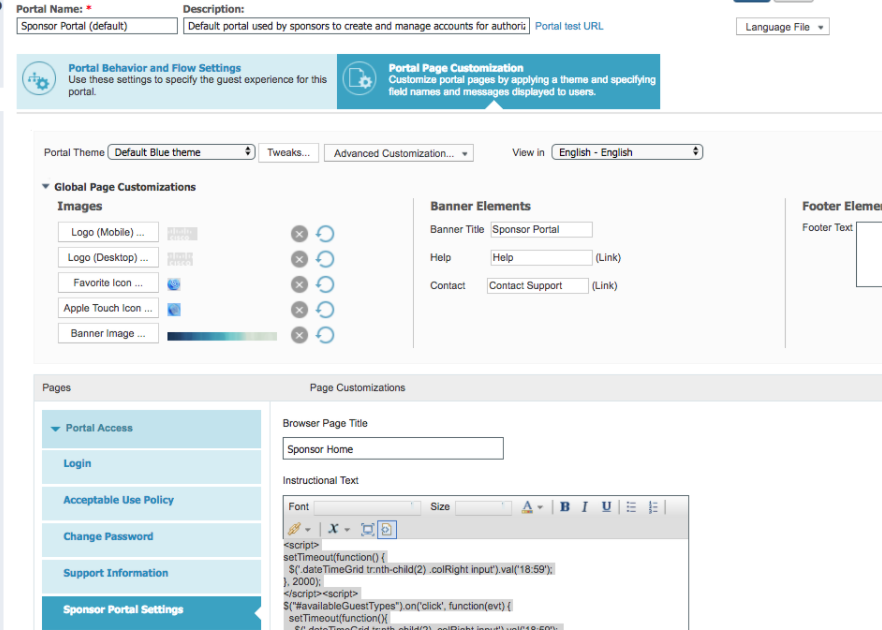
Portal > Portal Page Customization > Sponsor portal settings> Instructional text.
Toggle into HTML paste the script and toggle out. Save the page
<script>
    setTimeout(function() {
        $('#createGuestsTabControls > ul > li.ui-block-a').hide();
        $('#createGuestsTabControls > ul > li.ui-block-b > a').trigger('click');
    }, 3000);
</script>
Reorder the first and last names
The following example can be used for Japanese use case where the last name should come before the first name.
- Navigate to Work Centers > Guest Access > Portals & Components > Sponsor Portal > choose your sponsor portal
- Under portal page customization choose Create Accounts for Known Accounts
- Under the instructional text field toggle into HTML.
- Paste in the script below
- Toggle out of HTML mode
- In the upper right, Save the page
- Click on the portal test URL to access the sponsor portal to see the changes
<script>
jQuery(function(){
setTimeout(function(){
var first_name = jQuery('.firstName').parents().eq(1);
var last_name = jQuery('.lastName').parents().eq(1);
first_name.remove();
last_name.after(first_name); }, 1000);});
</script>
Create known account print only option (automatically)
Background
Some customers only prints guest accounts, they don’t use SMS or Email. In the portal settings, if SMS is not configured then its removed from the Notify pop-up. Unfortunately email is not a configurable option to be removed.
This script hides the email option for them, automatically checks the Print box and clicks OK. When the user clicks Notify it pops up still but then automatically goes to Print.
Configuration
Guest Access > Configure > Sponsor Portals > Customization
- Put the script on the instructional text for the Create Account for Known Guest page
- IN mini-editor
- Toggle into HTML
- paste the script into notepad first to remove any formatting
- Paste into mini-editor toggle out of HTML
- Save page
- Launch portal test URL to test!
<script>


            $(document).on('pageshow', '#createKnownAccountNotify', function(){

try{

       //hides the email checkbox

$("#createKnownAccountNotifyFormEmail").parent().hide();

}catch(e){}

try{

       //hides the copy me section

$("#createKnownAccountNotifyForm > blockquote").hide()

}catch(e){}

try{

//checkbox of print is disabled

setTimeout(function(){

$("#createKnownAccountNotifyFormPrint").prop("checked", true).checkboxradio('refresh');

//if there is no sms than just click “OK”

if($("#createKnownAccountNotifyFormSms").length==0){

       $($("#createKnownAccountNotify .dialog-action-buttons a")[1]).click();

}

}, 500);


}catch(e){


}


            });


</script>
Change the ending time, color and date format
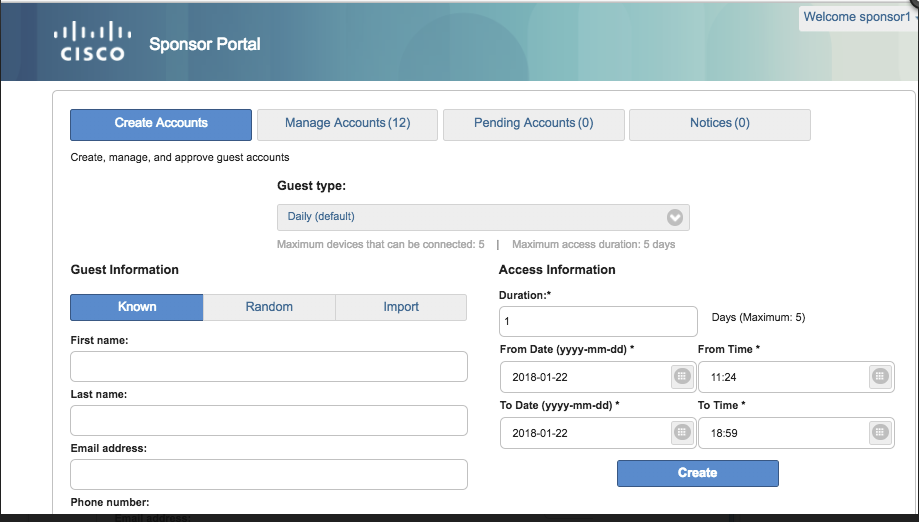
On sponsor portal when we fill out Access Information for guest accounts, the system auto-populates an ending time of 23:59; to set ending time be 18:59 or any custom ending time,

We need to go to portal page customization on sponsor portal and then go to sponsor portal settings and under "Instruction Text" click on "Toggle HTML source" and paste the below script
<script>

setTimeout(function() {

  $('.dateTimeGrid tr:nth-child(2) .colRight input').val('18:59');

}, 2000);

</script>

<script>

$("#availableGuestTypes").on('click', function(evt) {

  setTimeout(function(){

    $('.dateTimeGrid tr:nth-child(2) .colRight input').val('18:59');

  }, 3000);

});

</script>

<script>

$("a.ui_create_accounts_button").on('click', function(evt) {

  setTimeout(function(){

    $('.dateTimeGrid tr:nth-child(2) .colRight input').val('18:59');

  }, 3000);

});

</script>

<script>

$('#createKnownAccountsSummary [href="#page-create"]:last').on('click', function(){

  setTimeout(function(){

    $('.dateTimeGrid tr:nth-child(2) .colRight input').val('18:59');

}, 1000);

});

</script>
Once this script is saved, if we login to sponsor portal and try to create any guest account, an ending time will show from
23:59 to 18:59
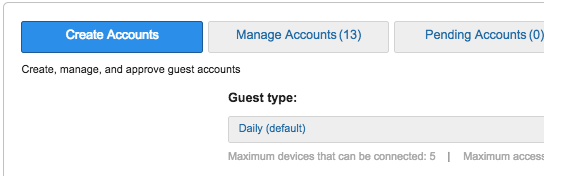
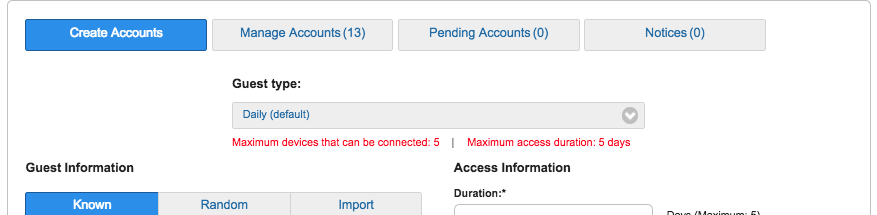
For Guest Type: "Maximum devices that can be connected:5 | Maximum access duration: 5 days" we would like to change the color so that it is more visible
Here is script
We need to go to portal page customization on sponsor portal and then go to sponsor portal settings and under "Instruction Text" click on "Toggle HTML source" and paste the below script
<style>


body .guest-type-description {


    color: red;

}


</style>
Hiding the Copy Me function and the password after the user is created
Customer who doesn't want password sent to the sponsor.
Notice how the copy me is greyed out and can't be used. See script and instructions below

Password will also be removed from this page as well
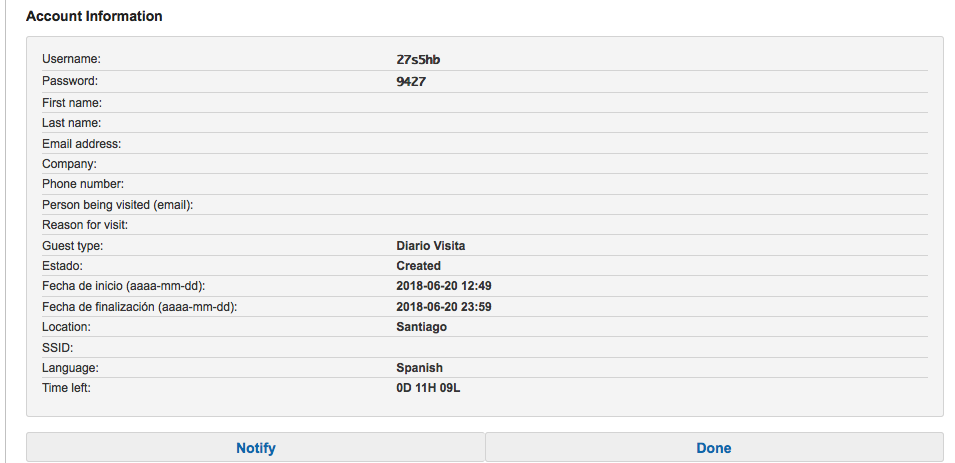
Insert the script under the Sponsor Portal settings page

<script>

setTimeout(function(){

  var button = $('[href="#createKnownAccountNotify"]').parent();

  button.on('click', function(){

    $('#createKnownAccountNotifyFormCopyMe').parent().hide();

  }) ;

$('#createButton').on('click', function(){

  setTimeout(function(){

    $('.approve-accounts-content .page_panel .summary_field:nth-child(2) .summary_field_value').text('');

  }, 3000);

})

}, 4000)

</script>
Also you can decrease that timeout (yellow marker to 2000 e.g.), if it slow.
Hiding notify and resend from create known accounts
For security options you may want to remove the ability to hide notify/resend account information. The use case behind this was for a customer to have 2 different portals with same sponsor group permissions. Under the optional content 2 for create known accounts you can try this javascript.
<script>
(function(){
   $(document).ready(function() {
                $(".ui_approve_accounts_button").remove();
                $(".ui_account_action_resend_button").remove();
               $(".ui_notices_button").remove();
               $('a[href="#createKnownAccountNotify"]').remove();
   });
})();
</script>
Restrict the email address entered when creating a known account
Use Case: customer doesn't want their employees creating guest accounts and sending to their corporate email address. They often enter it by mistake. The only people receiving guest accounts should be non company domain accounts.
Solution: this script restricts them from entering email addressed from known domain(s)
Please find the script for restricting particular domain in Email address field. Domain name can be given in the rejectList with comma separated if it is more than one.
Please try the below script in Sponsor portal customisation > Create Account for Known Guests > Instructional Text
- (domain1|domain2|domain3) and .com should be replaced with the required domains. Any number of domains can be replaced.
- The field .personBeingVisited (Person Being Visited) can be replace with .email (Guest Email).
Script will allow only the domains ("domain1","domain2","domain3")
<script>
    $(document).on("pageshow", function(){
        setTimeout(function() {
            $('.form-horizontal').validate();
            $(".personBeingVisited").rules("add",{customemailvalidator:true});
            $.validator.addMethod("customemailvalidator", function(value, element) {
                if(value == ''){
                    return true;
                }
                return /^(\w+\.?)+@(domain1|domain2|domain3)\.com$/.test( value );
            }, 'Enter a valid email address.');

            $(".personBeingVisited").on("input", function (){
                $(".personBeingVisited").validate();
            });
        }, 5000);
    });
</script>
Script will allow all the other domains except the domains ("domain1","domain2","domain3")
This is similar to the previous script but differs in the regular expression only.
<script>
    $(document).on("pageshow", function(){
        setTimeout(function() {
            $('.form-horizontal').validate();
            $(".personBeingVisited").rules("add",{customemailvalidator:true});
            $.validator.addMethod("customemailvalidator", function(value, element) {
                if(value == ''){
                    return true;
                }
                return /^(\w+\.?)+@((?!(domain1|domain2|domain3)).)*\.com$/.test( value );
            }, 'Enter a valid email address.');

            $(".personBeingVisited").on("input", function (){
                $(".personBeingVisited").validate();
            });
        }, 5000);
    });
</script>
Please try the below script in Guest portals customization >Registration From page -> Optional Content 2
Script will allow only the domains ("domain1","domain2","domain3") for Guest Portal:
====================================================================================
<script>
    setTimeout(function(){
        $.validator.addMethod("customemailvalidator", function(value, element) {
            return /^(\w+\.?)+@(domain1|domain2|domain3)\.com$/.test( value );
        }, 'Please enter a valid email.');
        $("#guestUser\\.fieldValues\\.ui_person_visited").rules("add",{customemailvalidator:true});
    }, 500);
</script>
- Mark as Read
- Mark as New
- Bookmark
- Permalink
- Report Inappropriate Content
- Mark as Read
- Mark as New
- Bookmark
- Permalink
- Report Inappropriate Content
@grabonlee please open a new thread. Did you happen to check basic portal customization steps docs ?
specifically allowing html/javascript
Find answers to your questions by entering keywords or phrases in the Search bar above. New here? Use these resources to familiarize yourself with the community: